By: Mark Crawford, Senior Risk Assessment Specialist
June marks the beginning of hurricane season and it is important that builders are not only aware of best building practices to help combat catastrophic damages but are also aware of resources available to assist in remediation following a hurricane event. You may recall Hurricane Harvey struck Texas as a Category 4 storm in August 2017. Hurricane Harvey taught the building industry several things about building science and the types of precautions builders can take to avoid costly damages. The following Tech Alert will take you through findings while uncovering precautions that builders can take to prepare for the unknown.
Harvey was the first major hurricane to make landfall since Wilma in 2005. The storm lasted a total of 17 days and caused $125 billion in damage; tying it with Katrina as the costliest cyclone on record. Structure repair costs for building materials alone for roofing, windows, siding, wallboard and lumber as a result of Harvey exceeded $1.8 billion. On average, each single-family home impacted by Hurricane Harvey needed more than $18,000 in basic building materials to repair items damaged from water intrusion.
Water Intrusion Damage vs. Flood Damage
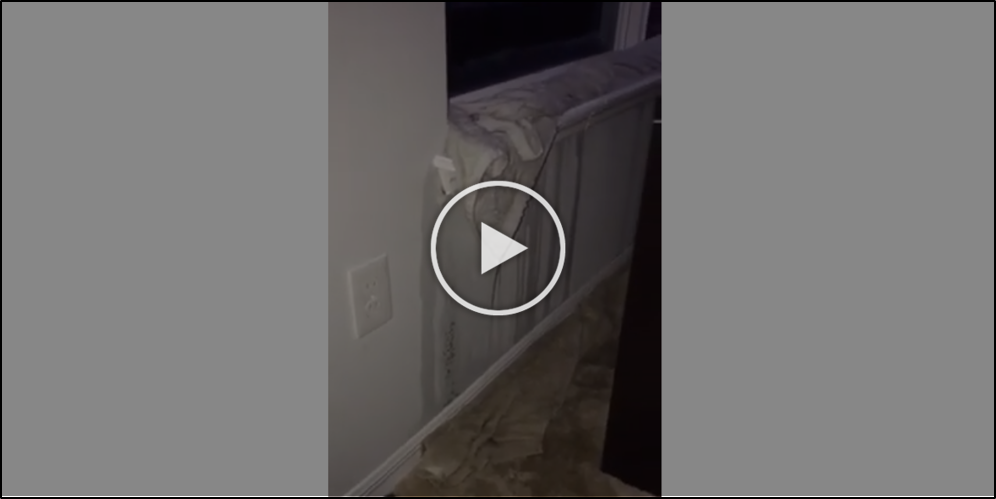
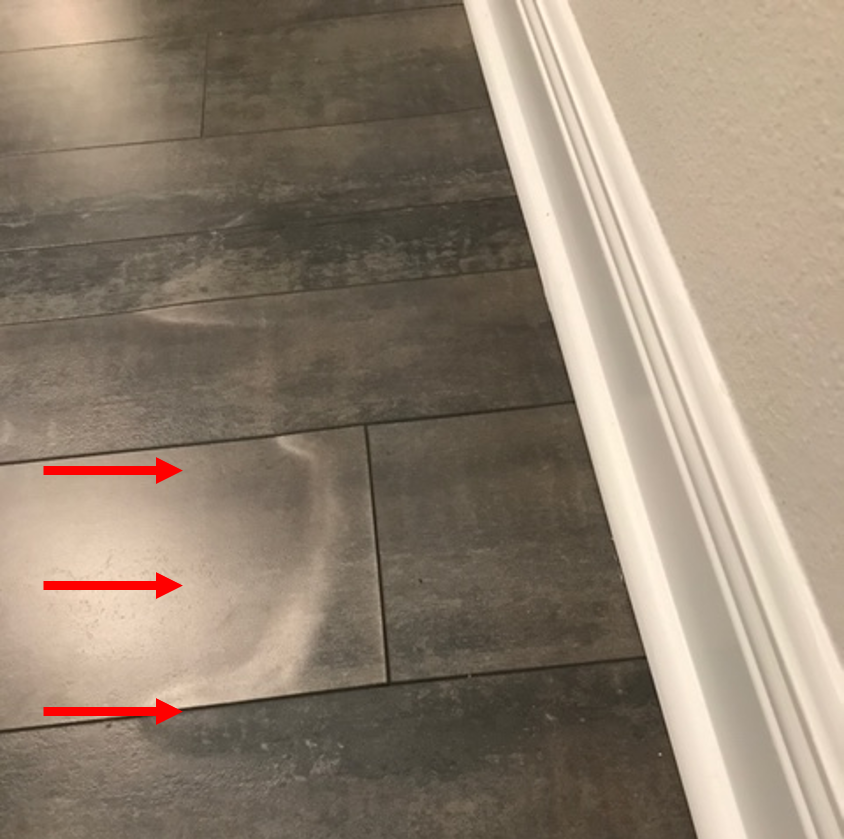
Water intrusion damage should not be confused with flood damage. Damage from water intrusion occurs when rainwater enters through the building envelope, often through a leak in the roof or unsealed windows and doors. Flood damage occurs when stormwater runoff saturates the structure’s surrounding soils, thus causing the stormwater to rise quickly around the structure until it eventually exceeds the height of the structure’s floor elevation level or the pressure washes the structure away. Most of Harvey’s ensuing water damage wasn’t caused by flood waters but rather from water intrusion through the roof.
Water intrusion claims caused by cyclone events are often masked by third party claims. However, this does not mean builders won’t “ever” be held accountable for water intrusion during a storm event. If forensic analysis of a damaged structure shows water intrusion would not have occurred or would have been significantly mitigated had a construction defect not been present, a builder can be at risk at sharing liability. Homeowner carriers are looking for ways to reduce their exposure and subrogation opportunities. The tools available to them are far more advanced than ever before in tracking damage models. Windows that are not properly installed, openings in the flashing and loose shingles are all opportunities for wind to enter a building allowing for greater damage than the event itself would have created, thusly exposing the builders to liability for the damages as a whole.
Mitigating Water Intrusion Damage
Let’s start at the top! By reducing or eliminating water intrusion entry points, a builder can reduce the risk of future claims following a storm event. A building’s first line of defense against costly water intrusion damage is the roof. Hurricane Harvey’s fierce winds ripped roofing shingles off most of the homes damaged and peeled away the roof’s Weather Resistive Barrier “WRB” (also known as underlayment). If a structure’s WRB was designed and installed to remain in-place during a storm event damage to the structure, its finishes, and personal furnishings from water intrusion would be minimal.
Designing and Building to the Next Level
In areas subject to high winds and annual hurricane rain events, consider implementing some of the Insurance Institute for Business and Home Safety (IIFBHS) code plus enhancements into your building design. Remember, the building code only addresses the minimum requirement under set conditions. By exceeding the code requirement with the component enhancements listed throughout this Tech Alert you can greatly reduce your risk. Additionally, fact sheets from the Federal Emergency Management Agency (FEMA) should be equally considered in your building design; especially along coastal areas and those subject to high-wind events. While it is true some of these code-plus enhancements add to the overall cost of a building structure, costly call backs during the warranty period may be reduced as a result of implementing some of these enhancements, thus resulting in an overall yearend savings and higher overall profit margin.
FEMA has been trending data on roof damage following cyclone storms for decades. They overlay their assessments of damage with roof system reviews of roofing materials, roof designs, and installation practices. FEMA’s wind study findings revealed that hip roof designs withstand wind damage better than traditional gable roof designs. Recent wind study results and leading experts have found that wind will slide over a hip roof like a dome, making it so it does not cling to the roof causing uplift. Florida requires insurance carriers to provide homeowner’s wind mitigation credits (premium reduction) for hip roofs to better protect the structure while reducing the cost of ownership
Roofing Material Specifications
Selecting roof covering materials based solely on weathering and durability ratings is a risky option; as these “marketed” ratings are subjective and more importantly there is no standardized benchmark between manufacturers to compare products against one another for an unbiased conclusion. Selecting a roof covering material with a longer warranty coverage may provide greater durability in areas subject to high winds than those manufactured with a lower warranty coverage period. Additionally, wind resistance as determined by ASTM D 3161 and UL 997 does not provide adequate test result data regarding the wind resistance of a particular shingle even when the shingle is subject to the highest fan speed rating as prescribed in the standard. A more accurate method to determine the proper type of asphalt shingle for installation is to use the data results from shingle up-lift tests such as those performed under UL 2390 and ASTM D 6381. These two test guidelines give a more accurate reading of a shingles’ bond strength and the likelihood that it will remain in-place during a high wind event.
Better Installation Leads to Better Performance
Installation Best Practices for Roof WRB (Underlayment):
A very simple and relatively inexpensive method to improve underlayment performance is to seal all the underlayment seam lines with approved tape. This installation practice helps prevent the wind from getting underneath the underlayment and peeling off the roof. Recent lab tests show that this measure helps hold the roof underlayment tight to the roof structure allowing the wind to pass over it.
Additionally, tape sealing of Oriented Strand Board “OSB” and plywood panel seams also helps prevent water intrusion when both the roofing underlayment and the roof covering materials are lost.
Installation Best Practices for Asphalt Shingles:
FEMA recently issued Hurricane Recovery Advisory for the installation of asphalt shingles noting the following recommendations:
- • Always use an underlayment. A properly installed underlayment will temporarily prevent water intrusion damage until such time as a proper and timely repair of the roof covering can occur.
- • Install six fasteners per shingle and apply three 1-inch dabs of asphalt roof cement per tab between the starter strip and the first course at the roof eave.
- • For shingle installation at hips and ridges, apply four 1-inch dabs of asphalt roof cement to the field shingle, set and press the pre-cut hip and ridge shingle onto the field shingle applied roof cement before installing fasteners at the cap shingle. Install fasteners on each side of the ridge. (Note: Longer fasteners may be needed at this location to allow for proper penetration into the roof’s OSB or plywood panels due to the increased shingle thickness at hip and ridge locations). Apply two 1-inch dabs of roof cement at the bottom edge of the cap shingle where the next shingle will overlap it.
- • For shingle installation at rakes; apply two 1-inch dabs of asphalt roof cement on the underlying shingle and two 1-inch dabs of roof cement to the metal drip edge. Set the overlying shingle in place and install fasteners except for the last fastener at the rake. Press the shingle down to set the rake shingle in the dabs of cement before installing the final fastener at the rake edge.
- • Use roofing nails that extend through the underside of the roof sheathing “OSB or plywood panels” or a minimum of 3/4-inch into planking. Use roofing nails in lieu of staples and use stainless steel fasteners when the building is within 3,000 linear feet of saltwater.
- • Install fasteners perpendicular to the roof sheathing material and set the nail head flush with the top layer of the asphalt shingle.
- • Inspect asphalt shingles after they have been exposed to sufficient sunshine to activate the sealant, inspect the roofing to ensure the tabs have sealed. Additionally, asphalt shingles should be of the “interlocking” type if seal strips are not present.
- • Do not allow upper level rain gutter downspouts to discharge water directly onto asphalt shingles. Nearly every asphalt shingle manufacturer has issued an industry alert on this common building practice. As such, they have “expressly” noted the subsequent voiding of their product warranty when practice is performed.
Installation Best Practices for Concrete and Clay Tile:
While concrete and clay tiles are equally prone to damage during high wind events. FEMA and other test entities concluded nearly two decades prior to Hurricane Harvey’s devastating destruction that improperly installed clay and concrete roof tiles were likely to become dislodged at wind speeds well below 100 mph, resulting in water intrusion damage to the structure in which they were installed. Field reviews after windstorms revealed the method in which a roof is installed had a direct correlation in how the tile performed in a high-wind storm. Tiles attached via the mortar set method were more likely to become dislodged than those installed with mechanical fasteners or foam-adhesive attachment method. What was most interesting in our post-wind event field findings was improperly installed tiles that were mechanically fastened or installed via the foam adhesion process failed alongside mortar set tiles, suggesting the damage to the structure was a result of poor installation practices. Additionally, when the foam adhesion method is specified, it is highly recommended that the roofing crew be trained and certified by the foam manufacturer that is being applied. As with asphalt shingle installations, roof tile damages from wind uplift are more likely to occur at corners, followed by perimeter tiles and then the field tile itself.
Installation Best Practices for Exterior Doors and Sidelights:
Another area to consider when designing the structure is the type of exterior door that should be installed. Doors should be wind and impact resistant and the use of double entry doors should be avoided. Double entry doors are more susceptible to high wind damage than single entry doors. If double entry doors are going to be installed, the hardware should be upgraded to allow for greater strength against wind damage. Simple hardware upgrades include using a higher grade and longer fasteners at the door hinges to allow for greater bite into the building studs and the installation of side bolts at the top and bottom of the door to inactivate it.
Sidelight doors should be avoided, as they are rarely manufactured as a single integral unit. There is a higher probability of the sidelight unit itself leaking during rain events or wind driven rain passing through the sidelight and the door frame assembly intersect point. If sidelights are going to be installed, then additional flashing and or sealing between the sidelight and the door frame assembly should be incorporated into the drawing detail, or at a minimum be performed in the field by the installer. Additionally, in coastal areas where this type of assembly is going to be used, a field mock-up should be created, and water tested. Furthermore, after its acceptance, quality assurance water testing of randomly selected installations should be performed throughout the project building cycle.
Installation Best Practices for Windows:
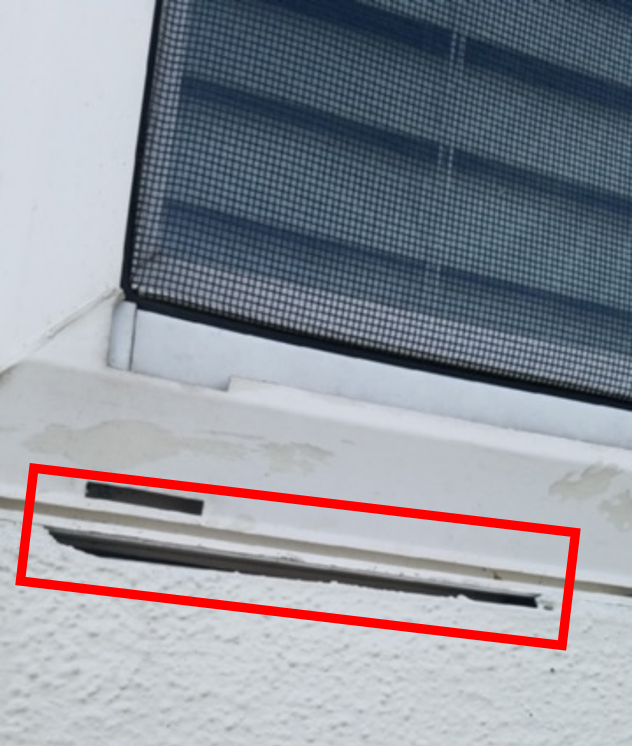
When it comes to window installation, following the window manufacturers’ installation instructions and properly caulking the window unit will prevent the intrusion of wind-driven rain at the window’s rough frame opening. Additionally, most manufacturers refer to the American Architectural Manufacturers Association “AAMA” installation guidelines to follow as a minimum installation standard. Sealants need to maintain their flexible state over the life of the installed window. If sealant becomes brittle or is poorly applied in the initial process, the likelihood of water intrusion into the framed wall assembly is greatly increased.
Additionally, the placement of fasteners with size, type and location have an equal impact on the weatherization of an installed window unit. When the improper size, type and location of frame fasteners is selected, there’s a greater risk of the windows weld seams being cracked or the window unit being installed in a racked state, thus resulting in water intrusion into the structure. AAMA notes in their installation instructions that fasteners are not to be installed closer than 3-inches to the window frame corners. Yet most installers unknowingly place fasteners in the corner during the installation process to hold the units in-place while fastening it.
By incorporating these simple installation practices into the project’s building design and verifying installation methods in the field, you can significantly reduce the probability of water intrusion into structures during and after high wind events. In most instances, high winds precede the onslaught of rainfall.
The Bottom Line
The industry has learned a lot about building science and building best practices as a result of damages brought on by hurricane events. With June being the beginning of hurricane season, it is important that builders take the precautions needed to prepare for the upcoming months. It is important that builders start with a wind resistive design, especially in areas prone to hurricanes. Quality Built can provide a Technical Plan Review to ensure the design, materials, systems and components are optimal for a sustainable structure. In addition to the appropriate design and materials used, it is important that installations are performed correctly. To ensure proper installation, education is key. Quality Built's Genesis Training & Learning Management System is a program that looks at inspection results and can provide microburst targeted training to installers that have been identified to have installed a system incorrectly. Providing in-field education along with Full-Scope Quality Assurance Inspections with technology-driven data collection and automated reporting is the ultimate solution to tracking and remediating anomalies. Quality Built also offers ASTM/AAMA water testing on windows, doors and other fenestrations to test resistance against potential water intrusion. Lastly, our Forensic Consulting services can be utilized post-hurricane event to pinpoint water intrusion sources and the best ways to recover structures from damages.
About the Author
Mark Crawford, Senior Risk Assessment Consultant
Mark is a seasoned Project Manager and Quality Assurance Consultant with over 20 years of expertise in the construction industry. Mark has professionally designed and managed vertical construction and civil improvement projects throughout the United States. He has in-depth knowledge in civil engineering and architecture, along with extensive experience in building inspections, building codes, design standards, local ordinances, forensic building failure analysis, construction defects and expert witness testimony. You can reach Mark at [email protected].
References:
- Hurricane Harvey Facts, Damage and Costs – Kimberly Amadeo, updated April 10, 2018
- Builder Magazine – After Harvey, Minimum 1.8 Billion in Building Supplies Needed – March 2018
- Dodge Data and Analytics – Update on the Construction Effects of Hurricane Harvey – Richard Branch
- Federal Emergency Management Agency (FEMA) – Start with the Roof to Rebuild Stronger Protection from Wind Storms – Release number 1770-011
- FEMA – Roof Coverings and Best Practices – Local Officials Guide For Coastal Construction
- Insurance Institute for Business & Home Safety – Asphalt-Saturated Felts Used as Roofing Underlayment – Heather Estes and Tanya Brown-Giammanco – January 2017
- NCMIC – Flood Damage vs Water Damage: Know the Difference – Joe Soda – March 2017


